Your first event
With Nori you start with a meetup, not a community. Your first event — with a public page and sign-ups — takes two minutes.
Create the event
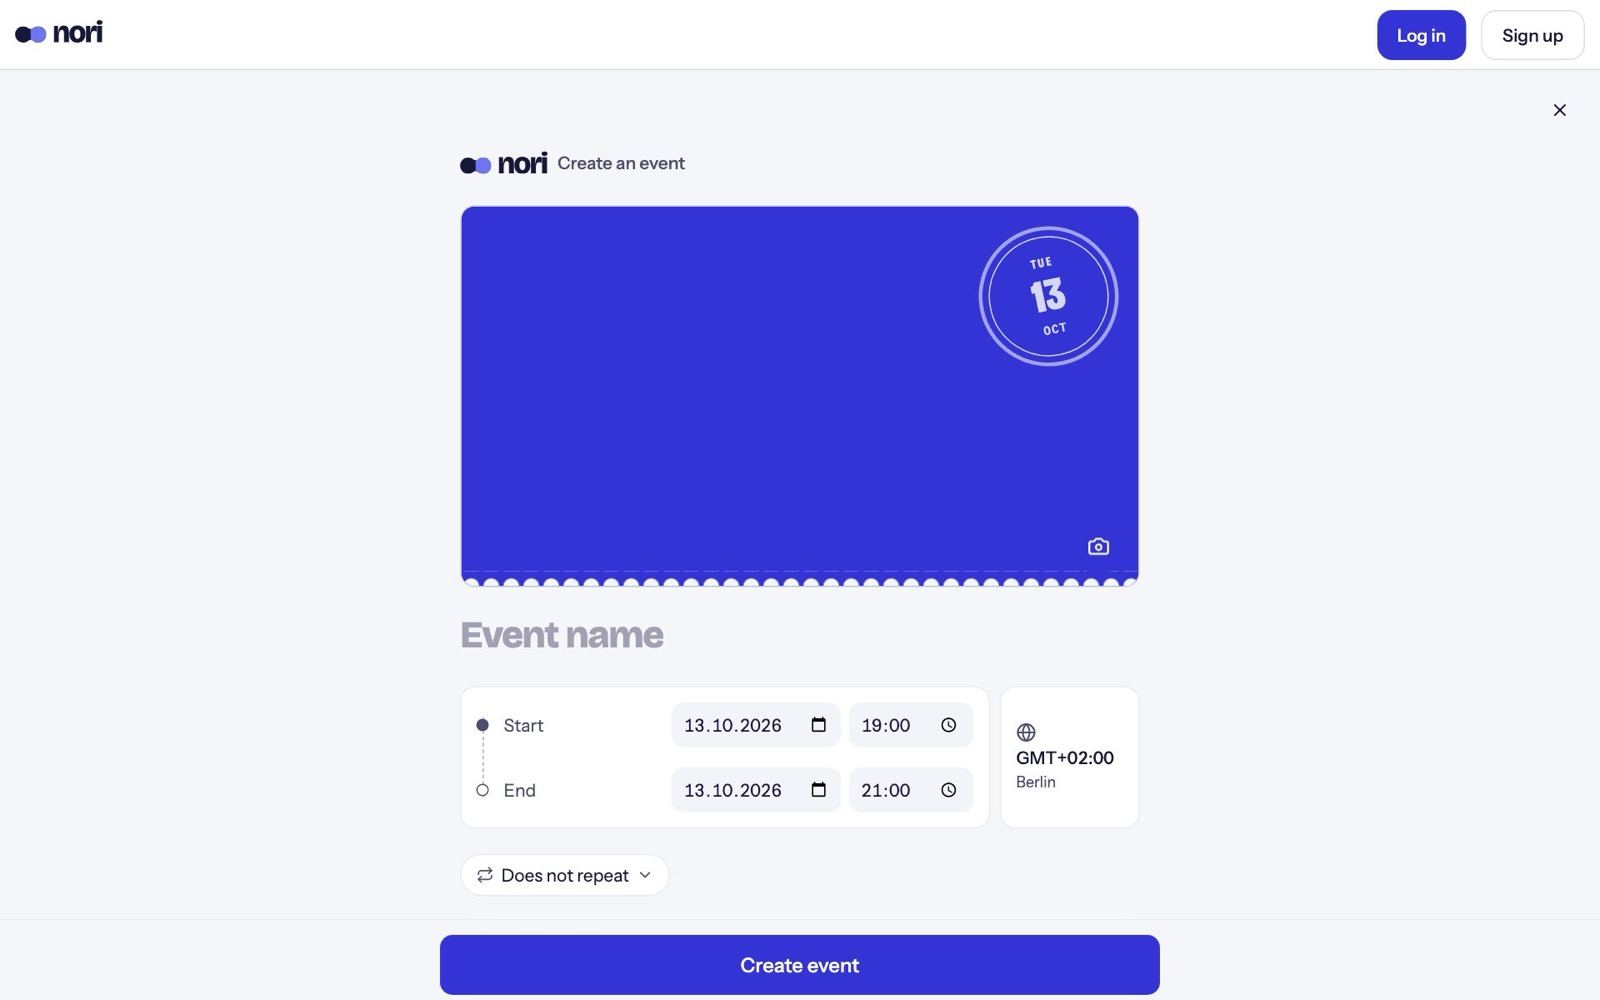
- Open nori.club/create or click Create an event on the home page. You don't need an account yet.
- Give your event a name and pick start and end. Nori suggests a date one week out, 7–9 pm.
- If it happens again and again, choose a repeat rule, for example "Every 2nd Thursday of the month".
- Use Add location for the address and Add description for a few sentences about it.
- As the cover, Nori uses a generated poster. You can upload a photo or pick one from the image search instead.
- Under Theme you choose the colors of your page.
- Under Event options you decide whether to approve sign-ups. Without that, anyone with the link can sign up straight away.
- Click Create event (for a series: Create event series).
One last step: your email
If you don't have an account yet, Nori now asks for your email address. There is no password. Your event is created as soon as you click the link in the email. Until then your draft stays saved in the browser.
What you get
- A community with your name and a public calendar "Events".
- A public page at
nori.club/c/<address>. You can change the name and address later in the settings. - Your event, open for guest sign-ups.
- The event assistant is switched on. It sends tickets, reminders and recaps.
You then land on your event's manage page, and the share dialog opens.
Share the event
The Share event dialog has:
- a short link to paste into any group or chat,
- a share image that also appears as the preview in WhatsApp, Signal or Telegram,
- a QR code for flyers, posters and the bar counter.
What's next
- Events and series: create and edit more events.
- Guests, sign-ups and tickets: approve sign-ups, ask questions, message guests.
- Check-in and stamps: how check-in works on the night.